How to Schedule Social Media Posts: A Step-by-Step Guide
Scheduling is the habit that lets you post daily without touching your apps daily. Here's the full system, step by step.
The Crossposting Team
Crossposting.xyz
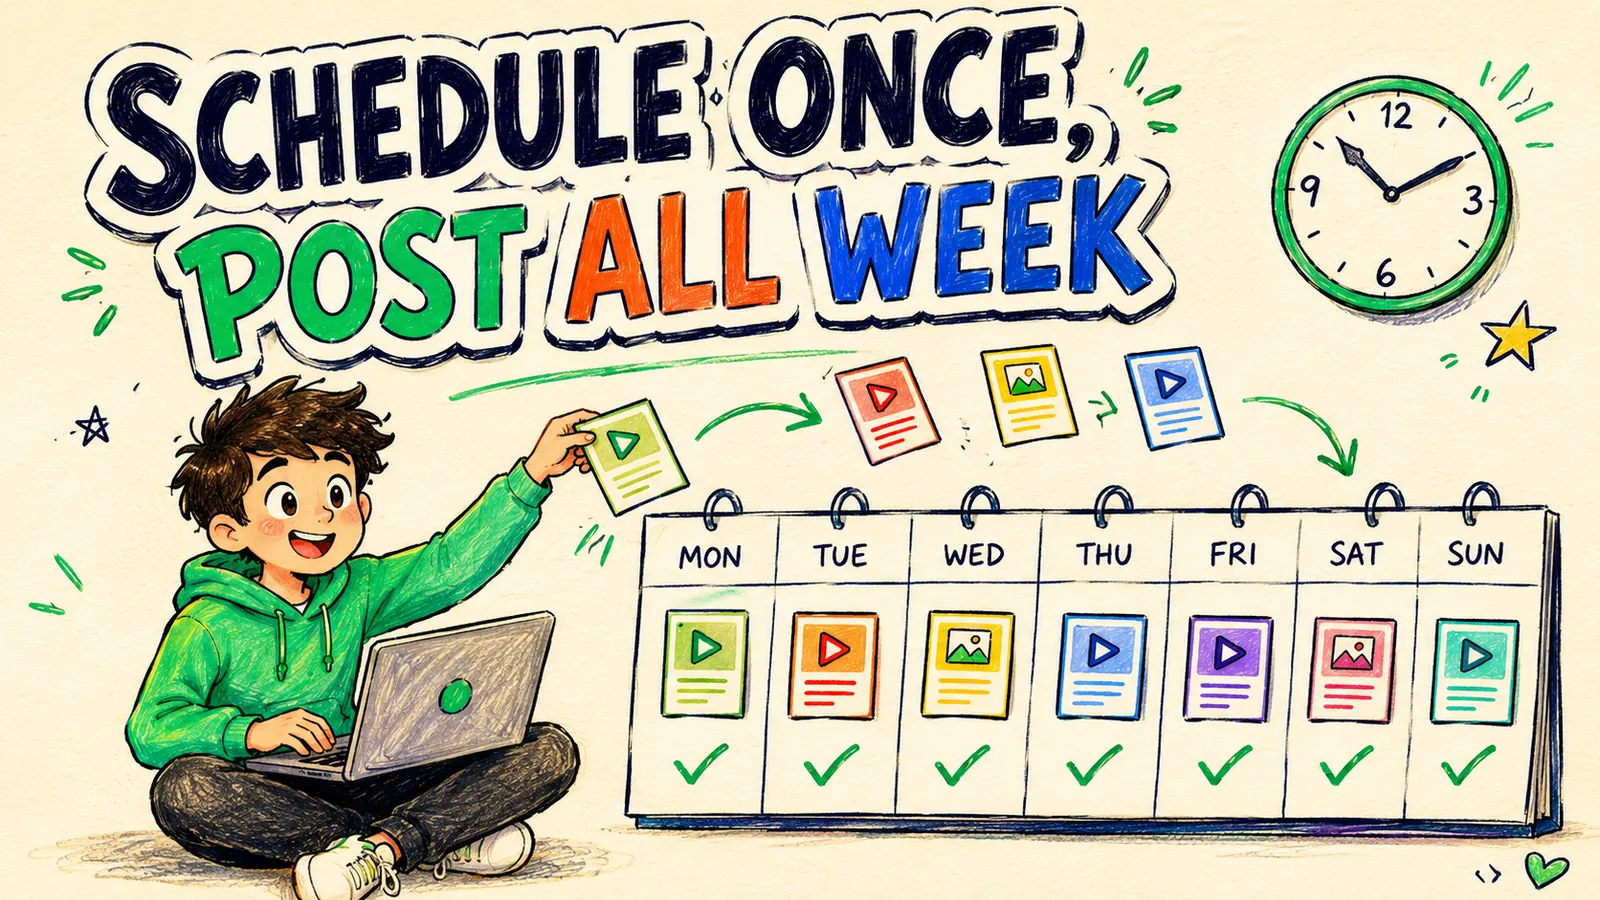
Scheduling social media posts means deciding what to publish and when, then loading it into a queue that publishes automatically. You connect your accounts to a scheduler, drop in your content, pick a time for each platform, and walk away. Instead of opening five apps every day, you fill a week in one sitting.
This guide covers the whole system: what to get ready first, the four steps to your first scheduled post, how to choose times, how to batch a week, what to adapt per platform, and the mistakes that make people think scheduling doesn't work.
Why scheduling beats posting live
Posting live is fine on one platform. On five it turns into an hour of app-switching every day, and the first busy day is the day your feed goes quiet. That gap is what kills accounts, not bad content.
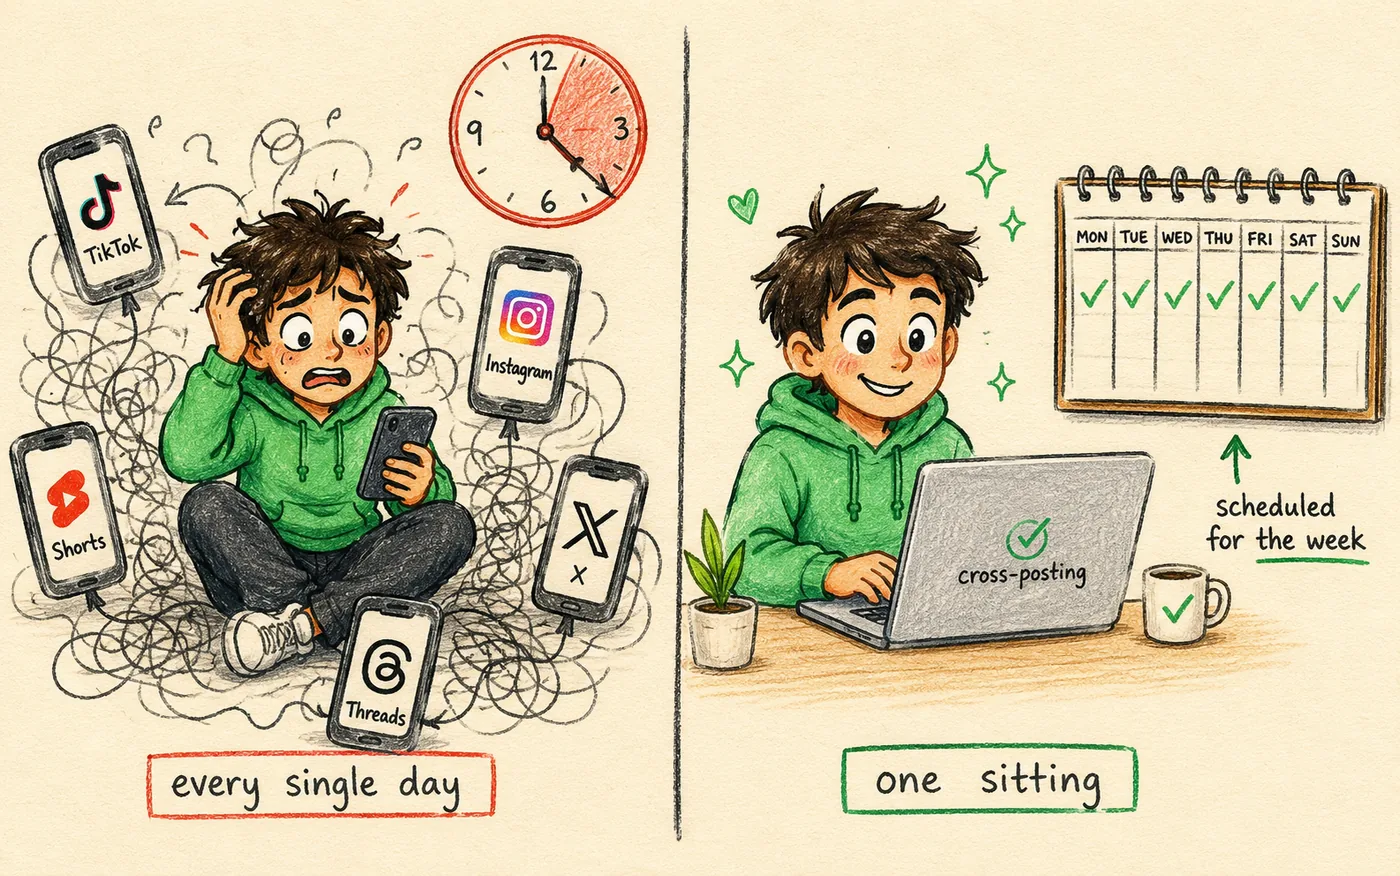
Here's the honest comparison, based on a creator posting one short-form video a day to five platforms.
| Posting live | Scheduling | |
|---|---|---|
| Time per day | ~45–60 min | 0 min |
| Time per week | ~5–7 hours | ~60–90 min, once |
| Posts on a busy day | Usually zero | Same as any day |
| Best posting window | Only if you're awake | Every time |
| Where the effort goes | Uploading | Making the content |
The row that matters is the third one. Consistency is the entire game in organic social, and consistency is not a willpower problem — it's a friction problem. Cut the friction and the volume takes care of itself.
- Consistency: the queue publishes whether or not you remember, so your feed never goes silent for a week.
- Time: batching a week costs about what one live day costs, minus the six repeats.
- Timing: you hit each platform's warm hours without setting an alarm for 7am.
- Focus: you stop context-switching between making content and shipping it, which are two different jobs.
Reach in organic social follows a power law: a small handful of posts produce almost all of your views, and nobody can predict which ones. More posts means more lottery tickets. Scheduling is simply how you keep buying tickets without burning out, which is the same argument behind content batching.
What you need before your first scheduled post
Three things. None of them takes long, but skipping the first one is why people bounce off scheduling in week one.
- 1Your platforms picked. Two or three to start. Adding a fourth costs you almost nothing once the workflow exists, so don't agonise over the list.
- 2A batch of content ready. Four to seven pieces, exported clean, no watermarks from other apps. A queue with nothing in it is just a calendar.
- 3A scheduling tool that connects your platforms and shows one calendar for all of them. Compare options in the best social media scheduler for creators, or start on a free plan and see if the habit sticks.
Warm the account first
If an account is brand new, post manually from the app for about a week before you point a scheduler at it. A fresh account that suddenly publishes four times a day through an API looks like a bot to every spam filter, and that has nothing to do with the tool.
How to schedule social media posts, step by step
Four steps. The first one you do once, the other three you repeat every week.
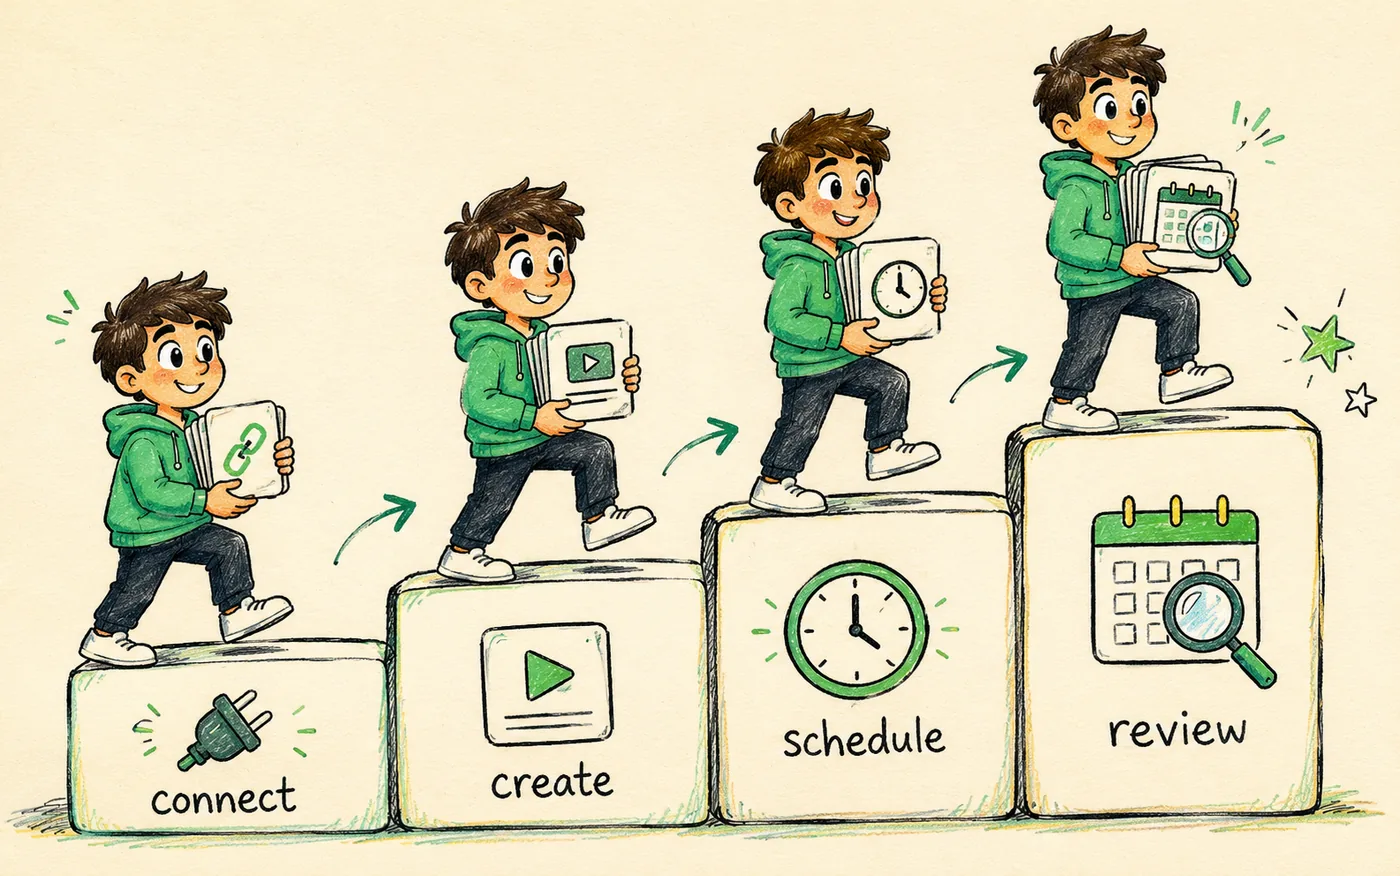
Step 1: Connect your accounts
In your scheduler, connect each platform through its official login screen. You'll be bounced to Instagram, TikTok, or LinkedIn, asked to approve, and sent back. That approval is what lets the tool publish through the platform's official API.
Two things worth knowing here. Instagram and Facebook publishing runs through a professional account linked to a Facebook Page, so if the connection screen asks you to switch your account to Creator or Business, that's normal and reversible. And any tool that asks for your raw password instead of sending you to the platform's own login is a tool to close immediately.
Step 2: Create or upload your content
Drop the video or image into the composer and write one master caption. Then adapt it per platform: TikTok wants short and punchy, LinkedIn wants a first line that earns the click, YouTube Shorts wants words people actually search for.
Keep the file itself identical everywhere. One clean 9:16 export at 1080 × 1920, under 60 seconds, captions burned in, no logos from other apps. A watermarked download is the single most common reason a cross-posted clip underperforms, which we cover in detail in cross-posting from Instagram to TikTok.
Step 3: Pick your times and schedule
Set a time per platform rather than one time for all of them. Stagger by 20–40 minutes so the same clip doesn't land on every feed in the same second, which looks mechanical to anyone following you in more than one place.
Then check the timezone on your account. It sounds trivial. It is also the number one reason a first week of scheduled posts publishes at 3am, and people blame the algorithm for the flat numbers.
Step 4: Review the calendar
Open the week view and scan it. You're looking for three things: empty days, two posts stacked too close, and anything time-sensitive that will have gone stale by its slot. Drag to fix. Thirty seconds, once a week.
The calendar review is the step everyone skips and the only step that catches a mistake before it publishes.
Choosing times without guessing
Generic best-time charts are a starting point, not an answer. Use them for week one, then replace them with your own analytics, because your audience's habits beat any published average.
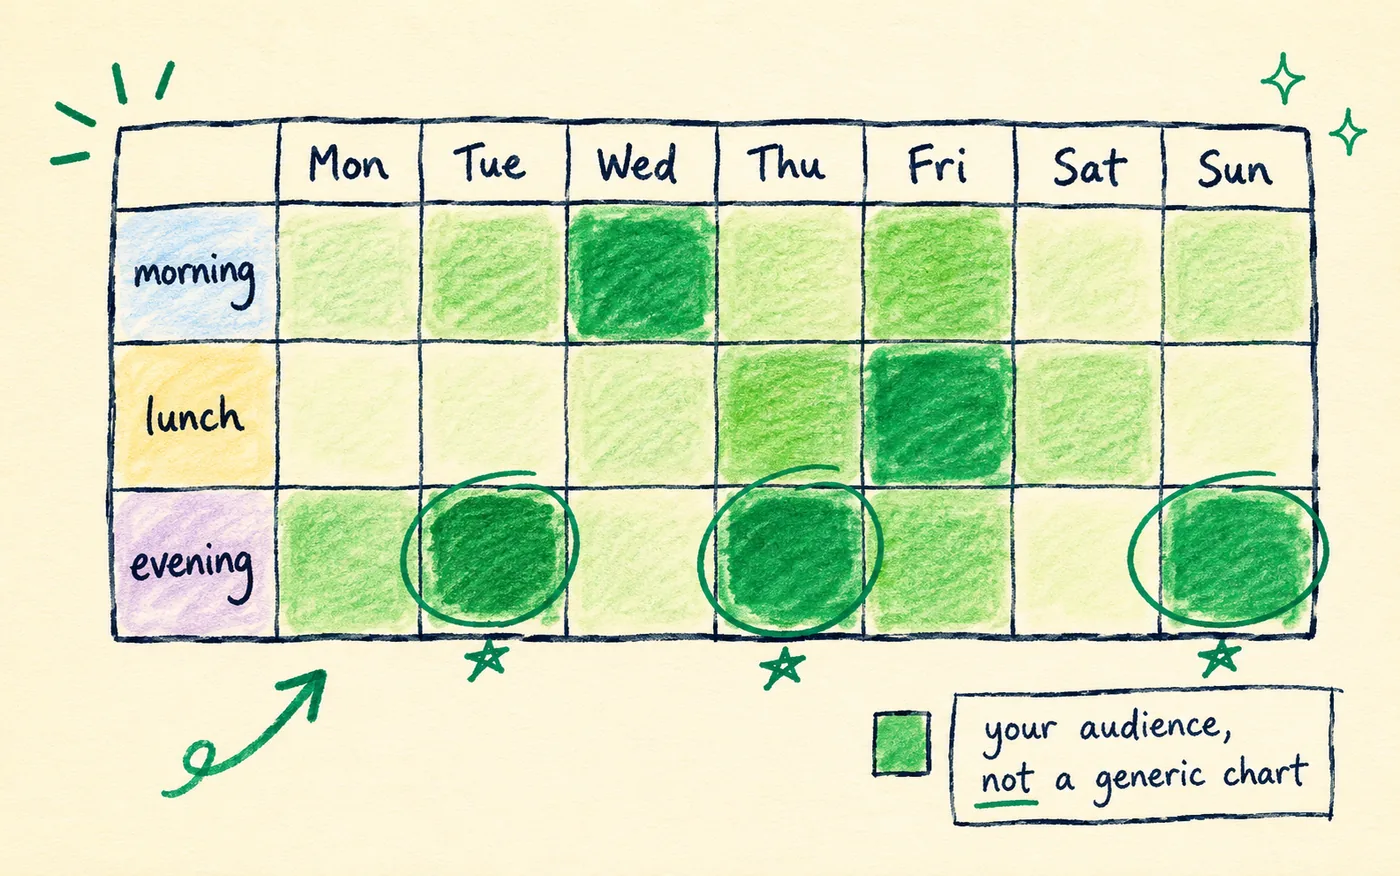
These are reasonable defaults to open with, in your audience's local time.
| Platform | Reliable window | Note |
|---|---|---|
| TikTok | 6–9pm | Evening scroll, weekends hold up well |
| Instagram Reels | 11am–1pm, 7–9pm | Lunch and post-dinner |
| YouTube Shorts | Anytime | Keeps resurfacing for months, timing matters least |
| Tue–Thu, 8–10am | Dead on weekends | |
| X | 8–10am, 5–7pm | Short shelf life, so the window is tight |
After two weeks of scheduled posting you'll have enough data to see your own peaks, which are often an hour or two off the published averages. Move your slots to match. The full per-platform breakdown lives in our guide to the best time to post on social media.
Timing matters less than you think
A great post at a mediocre hour beats a mediocre post at the perfect hour, every time. Get your slots roughly right and then stop optimising them — the hour is worth a few percent, the content is worth everything.
Build a content calendar you'll actually keep
A content calendar is just a plan for what goes out when. It does not need to be a spreadsheet with fourteen columns. The version that survives contact with a real week looks like this.
- Set a cadence you can sustain. One post a day across your platforms is plenty. Five a day for two weeks then nothing is worse than one a day forever.
- Theme your days if it helps you decide faster: tips Monday, behind-the-scenes Wednesday, a story on Friday. Themes exist to kill blank-page paralysis, not to trap you.
- Plan one week at a time. Long enough to batch efficiently, short enough to react to something that happens Tuesday.
- Leave two slots open every week for trends, replies, and anything timely. A queue should be a floor, not a cage.
If you want a ready-made structure instead of building one, we published a fill-in version in a social media posting schedule that actually sticks.
The cheat code: batch, don't drip
Creators who post daily are not sitting down daily. They batch. One filming session becomes a week of clips, one scheduling session queues all of them, and the rest of the week is spent making next week's batch.
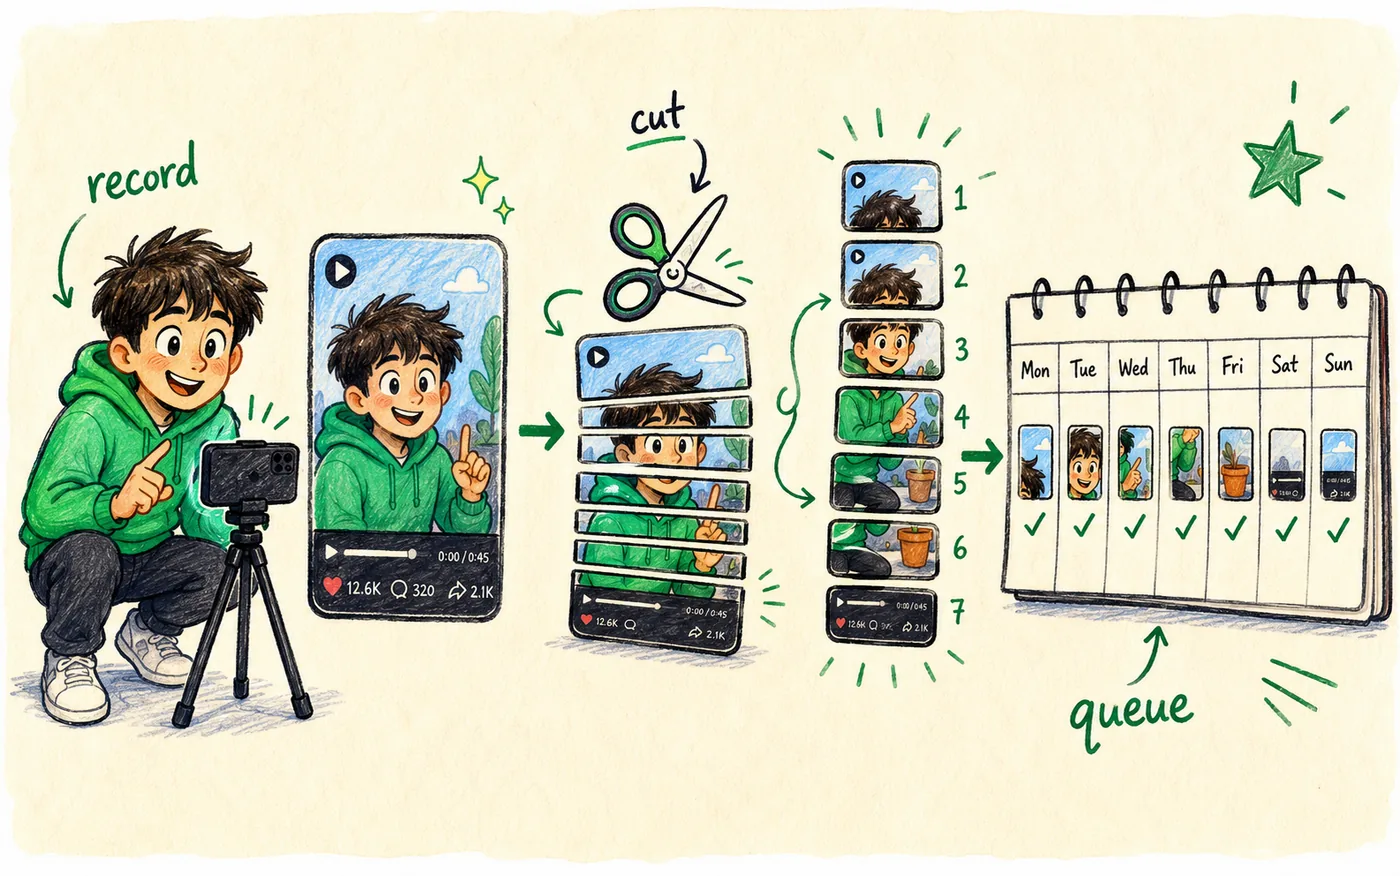
- 1Batch-record on one day. Same lighting, same outfit, several pieces back to back. Setup is the expensive part, so amortise it.
- 2Batch-edit in one session. Editing five clips in a row is far faster than editing one clip five times across five days.
- 3Batch-write the captions while the clips are fresh in your head, not two days later when you've forgotten the point of clip three.
- 4Batch-schedule the whole week to every platform in one pass, then close the laptop.
A realistic first batch is about 90 minutes end to end for five posts. That's the entire week's publishing work. For the month-at-a-time version of this, see how to bulk-schedule a month of content, and for squeezing more posts out of each recording, how to repurpose one video into ten posts.
Batch a week to every platform in one sitting with Crossposting. Free to start.
Try it freeWhat to adapt per platform (and what to leave alone)
The most common scheduling mistake is pasting one identical caption everywhere. The fix is small: the file stays the same, the wrapper changes.
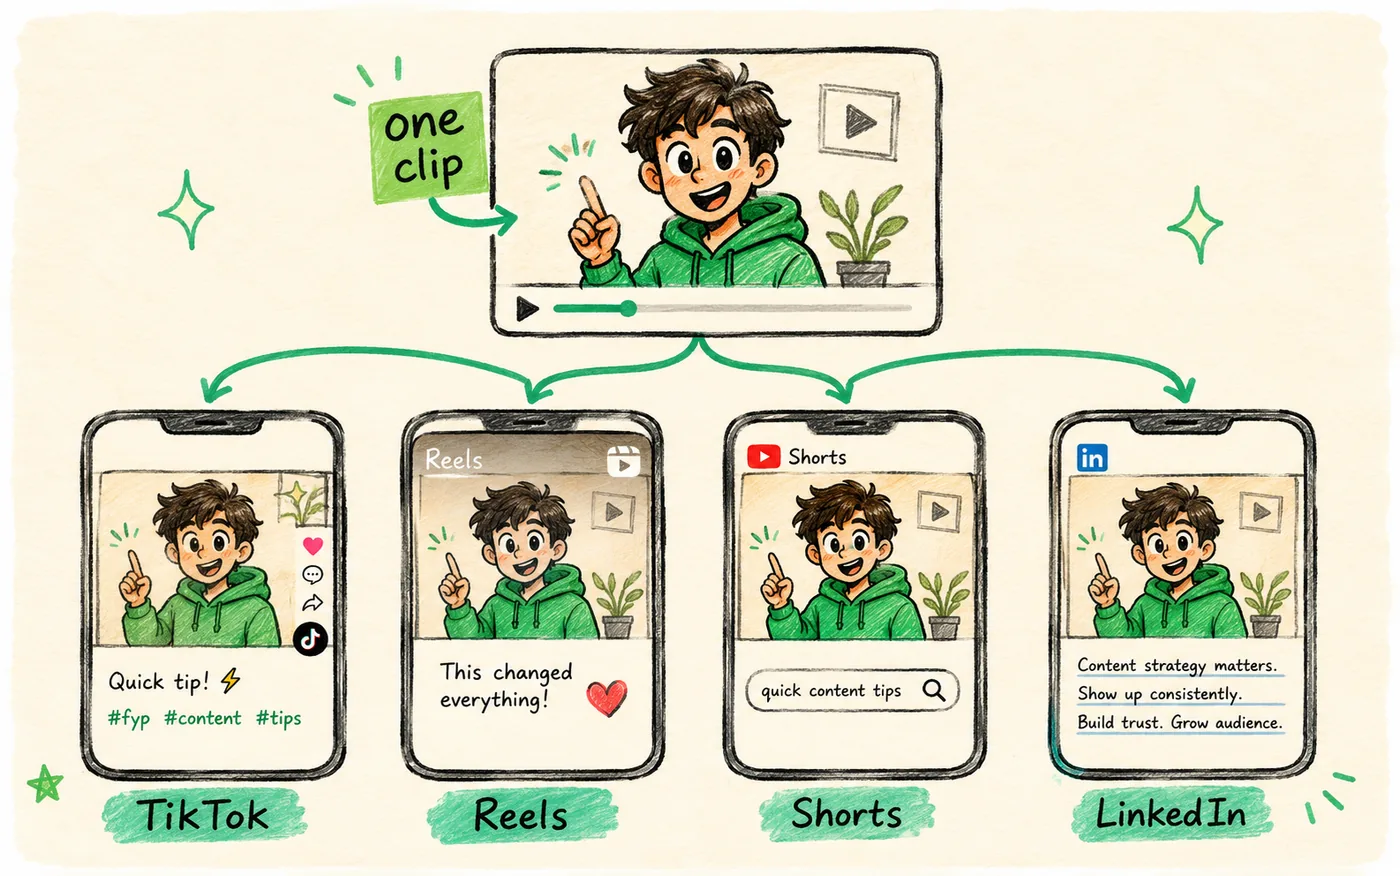
| Platform | Caption shape | Hashtags |
|---|---|---|
| TikTok | One line, hook first | 3–5, specific |
| 2–3 lines, a question at the end | 5–10, mixed size | |
| YouTube Shorts | Searchable title, keywords early | 2–3 |
| First line earns the click, then 3–4 short lines | 0–3 | |
| X | One sharp sentence | 0–1 |
That's ten minutes of work per batch and it's the difference between a queue that reads like a person and a queue that reads like a bot. Identical captions across platforms are also one of the patterns that gets cross-posters flagged, which we unpack in cross-posting without getting shadowbanned.
Native scheduling vs a scheduling tool
Several platforms let you schedule inside their own app for free, so it's fair to ask why you'd add a tool. The answer is that native scheduling solves one platform, and you're on several.
| Approach | Strength | Limit |
|---|---|---|
| Native (per platform) | Free, built in, no setup | One platform at a time |
| Phone reminders | Free, no tool needed | You still do the upload manually |
| Scheduling tool | Every platform, one calendar | Small monthly cost |
If you post to one platform, native scheduling is genuinely enough and you should use it. The moment you're on three or more, opening three separate schedulers recreates the app-switching problem you were trying to escape. One calendar for everything is the entire point, and it's why cross-posters end up on a tool. The wider case for that is in how to cross-post to multiple platforms.
How far ahead should you schedule?
There's a sweet spot between winging it every morning and planning a quarter you'll abandon in week three.
- One week suits most creators. Long enough to batch, short enough to stay current.
- One month works for evergreen content that won't age — tutorials, explainers, anything not tied to a trend.
- Avoid rigid multi-month plans. Social moves too fast, and a calendar that can't react becomes something you resent.
- Always leave gaps. Two open slots a week is the difference between a system and a straitjacket.
Treat the queue as your floor: it guarantees you never go silent, while leaving room to add something reactive on top when it's worth posting.
Mistakes that make scheduling look like it doesn't work
When someone says scheduling killed their reach, it's nearly always one of these five, and none of them is the scheduling itself.
- Scheduling and disappearing. The first hour after a post lands is when replies matter most. Set a reminder to show up in the comments even though you didn't push the button.
- Identical captions everywhere. Reads automated to humans and to spam filters. Ten minutes of adapting fixes it.
- Watermarked files. A clip downloaded from one app and uploaded to another carries foreign branding, and every platform quietly deprioritises it.
- Wrong timezone. Check it once. It costs an entire first week when it's wrong.
- Queuing filler to hit a number. A queue makes it easy to publish something you don't believe in. Empty slots beat weak posts.
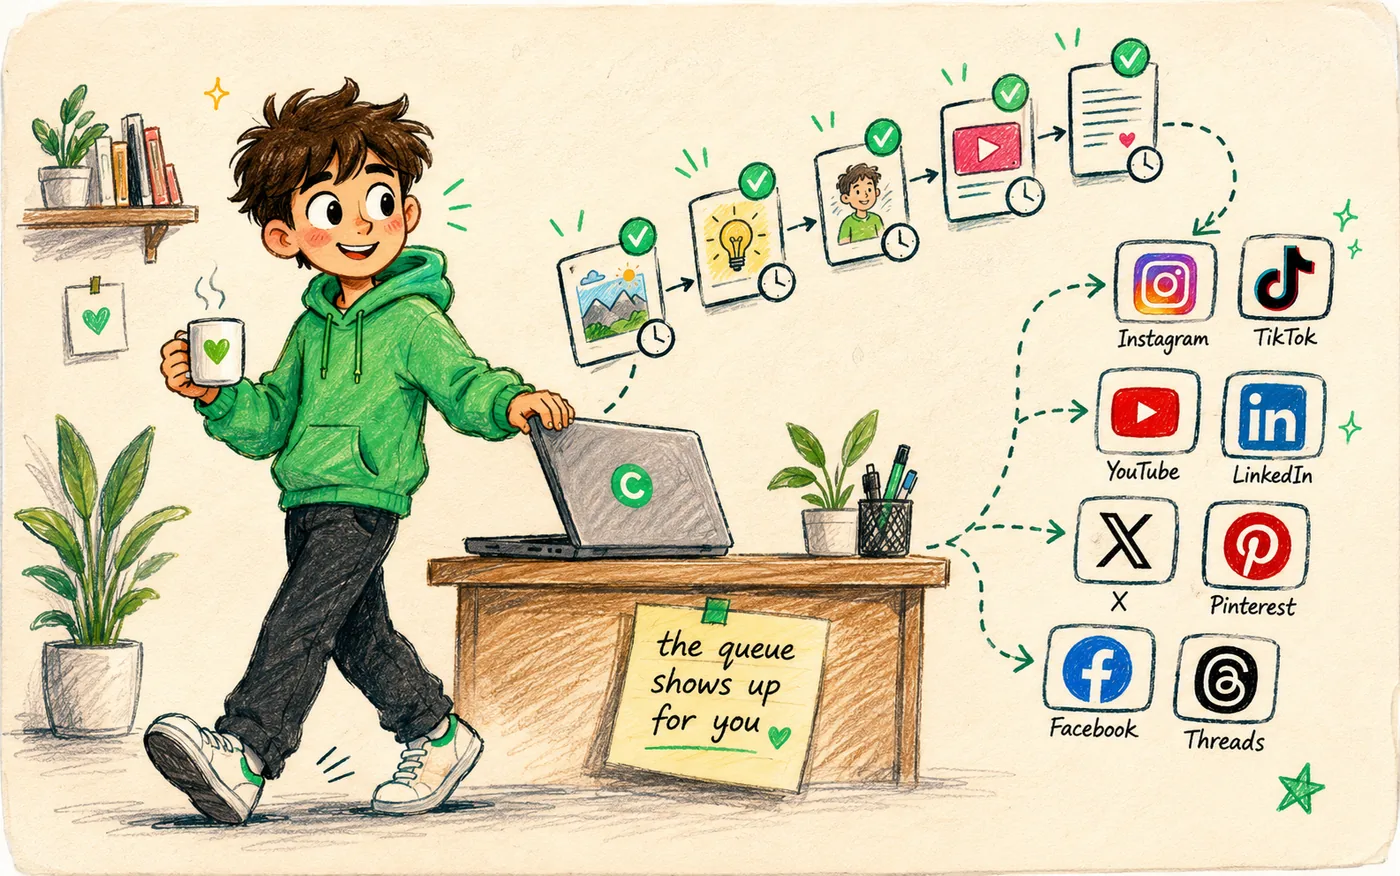
Does scheduling hurt your reach?
No. Posts published through official platform APIs are native uploads — the platform cannot tell whether a human tapped the button or a scheduler did, because both arrive through the same door. Instagram, TikTok, YouTube, LinkedIn and X all offer publishing APIs precisely because they expect professional accounts to use them.
What does hurt reach: watermarks, links pushing people off-platform, copy-pasted captions, posting eight times a day from a two-week-old account, and never replying to anyone. Those are habits, not scheduling. If your numbers dropped after you started queueing posts, work down that list before blaming the queue — the same diagnostic order we use in why your TikTok isn't getting views.
Turn it into a weekly ritual
The creators who stay consistent for years don't rely on motivation. They put scheduling in a fixed slot, the same way as groceries.
- 1Pick a set time. Sunday evening works for a lot of people. Put it in the calendar as a real appointment.
- 2Prepare the batch first, or at the start of the session. Never start a scheduling session with no content.
- 3Load the whole week across every platform in one pass.
- 4Review the calendar once for gaps and clashes, then close the laptop.
- 5Spend the week creating, and check comments daily. The publishing is already handled.
Once it's a habit, daily posting stops feeling daily. You front-loaded it into one calm session, and the week is free for the work that actually compounds.
Video, image and text posts schedule differently
Not every post type behaves the same in a queue, and knowing the differences saves you a round of confused troubleshooting on your first batch.
Video is the strictest. Platforms have to transcode the file after your scheduler hands it over, so a post set for 7:00pm may actually appear at 7:01 or 7:02. That's normal. Give video the earliest slot in any stack of posts and never schedule a video two minutes before something time-sensitive.
Images are the most forgiving and publish close to the second. Carousels sit in the middle: multi-image posts are supported by most publishing APIs, but the order of the images is fixed at schedule time, so check the sequence before you queue rather than after.
Text-only posts are instant, which makes them the right thing to fill your two open weekly slots with. A reply to a trend or a quick observation costs you two minutes and keeps the account looking alive between the batched pieces.
| Post type | Publishes | Watch out for |
|---|---|---|
| Short video | Within 1–3 min of the slot | Transcoding delay, file size caps |
| Single image | On the second | Compression on large files |
| Carousel | On the second | Image order is locked at schedule time |
| Text only | On the second | Nothing, this is the easy one |
| Story | On the second | Expires in 24h, so timing matters more |
One practical consequence: if a post fails, it's almost always a video, and it's almost always the file. Check length, aspect ratio and size before you check anything else.
What to do when a scheduled post fails
It happens a few times a year even on a well-behaved setup, usually because a platform expired your connection token. The fix is boring and takes two minutes, but only if you notice.
- 1Turn on failure notifications in your scheduler. Without them, you find out a week later that Thursday never published.
- 2Reconnect the account. Expired tokens are the single most common cause, and platforms expire them on a schedule you don't control. Instagram and Facebook are the usual suspects.
- 3Check the file against the platform's limits if the connection is fine — length, aspect ratio, size and format, in that order.
- 4Republish manually if the moment still matters, then requeue the rest of the week.
A monthly habit worth building: open your connections page once a month and reconnect anything showing a warning, before it costs you a post. It takes less time than reading this paragraph.
Your first week, mapped out
If you want something to copy rather than design, this is a realistic starting week for a solo creator on three platforms.
| Day | What you do | Time |
|---|---|---|
| Saturday | Record 5 clips back to back | 60 min |
| Saturday | Edit and export clean 9:16 files | 45 min |
| Sunday | Write 5 captions, adapt per platform | 20 min |
| Sunday | Connect accounts, queue all 5, review calendar | 20 min |
| Mon–Fri | Reply to comments, nothing else | 10 min/day |
That's under two and a half hours for a full week live on three platforms, and most of it is the recording you were going to do anyway. Week two is faster because the accounts are already connected.
Frequently asked questions
How do I schedule posts to all platforms at once?
Use a cross-posting scheduler that connects your accounts through official APIs. Upload one piece of content, adapt the caption per platform, set a time for each, and it drops into a single queue that publishes automatically. Crossposting does this across nine platforms from one calendar.
Can I schedule Instagram and TikTok posts in advance?
Yes. Both support scheduled publishing through their official APIs, so Reels and TikToks can go out at a future time without you being in the app. Instagram requires a professional account linked to a Facebook Page. You can queue them alongside YouTube, X, LinkedIn and more.
How far in advance should I schedule?
One week is the sweet spot for most creators: long enough to batch efficiently, short enough to stay flexible. Evergreen content can be queued a month out. Avoid rigid multi-month calendars, and leave two open slots each week for trends and timely posts.
Does scheduling hurt reach?
No, not when posts publish through official APIs as native uploads. The platform can't distinguish them from manual posts. Reach drops from other habits: watermarked files, identical captions on every platform, off-platform links, or ignoring comments after a post goes live.
How long does it take to schedule a week of content?
About 20 minutes to queue five posts across three platforms once your accounts are connected, plus roughly 90 minutes to record and edit the batch. Week two is faster because connection and setup are already done. Compare that to 45–60 minutes a day posting live.
What's the best free way to schedule social media posts?
Most platforms include native scheduling at no cost, which is enough if you only post to one. For several platforms, free tiers of scheduling tools typically cover 2–3 accounts and 10–30 posts a month, which fits a light cadence while you build the habit.
Bottom line
Scheduling social media posts comes down to four steps: connect your accounts once, create and adapt your content, pick a time per platform, and review the calendar before you close the laptop. Batch a week at a time so publishing costs you one session instead of seven, and keep two slots open for whatever the week throws at you.
The queue handles showing up. You handle the content and the comments, which are the two things a tool can't do for you. Ready to queue your first week across every platform? Start free.
Put this into practice
Schedule a week of content to every platform in one sitting. Free to start, no card today.
Try Crossposting free